Electronics Production
1 - Define our PCB production process: (Group Assignement)
2 - Make my own programmer.
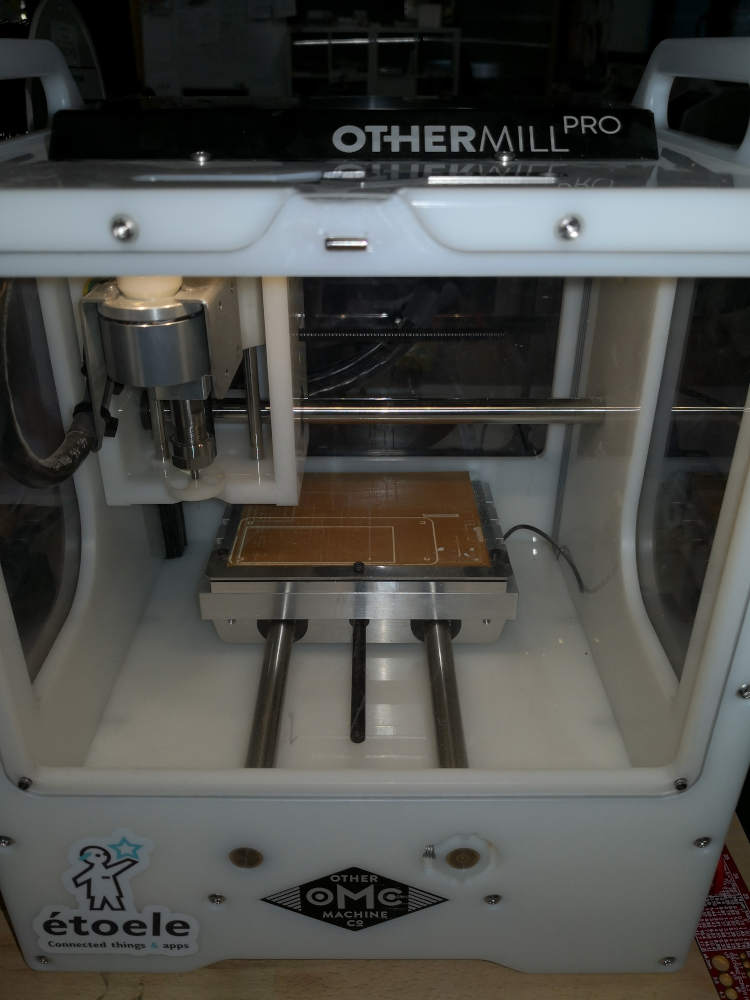
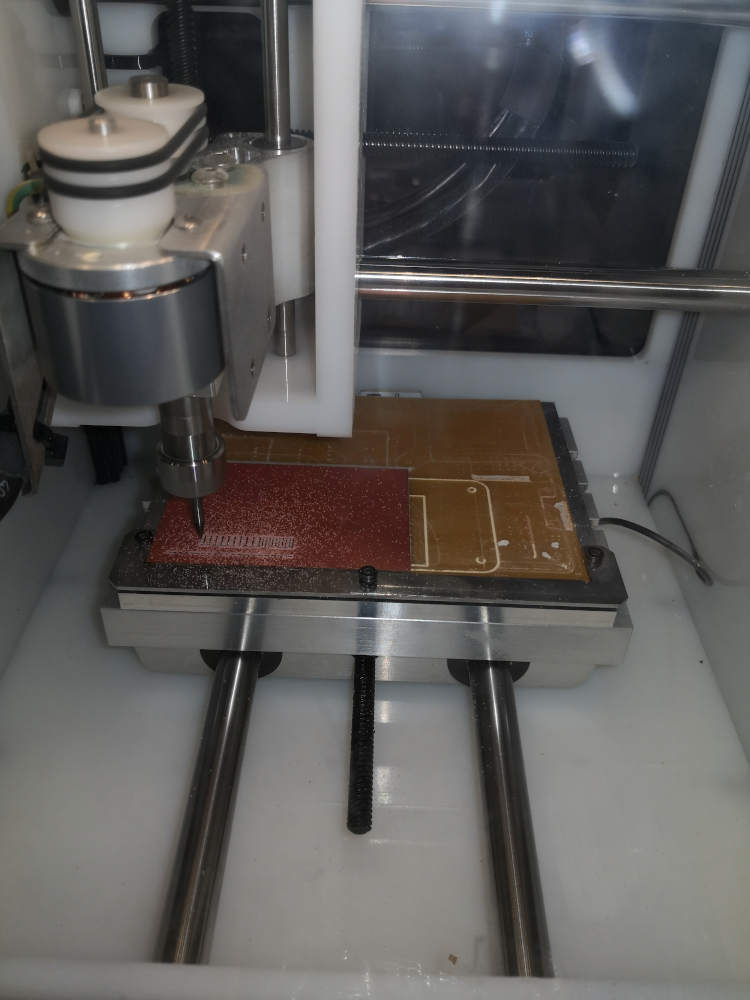
With Alban, we start the week by characterize all the PCB process, we working with a Desktop CNC from "Othermill" (now is named Bantam tools
It's a Small precise & very friendly user CNC machines.

How to mill
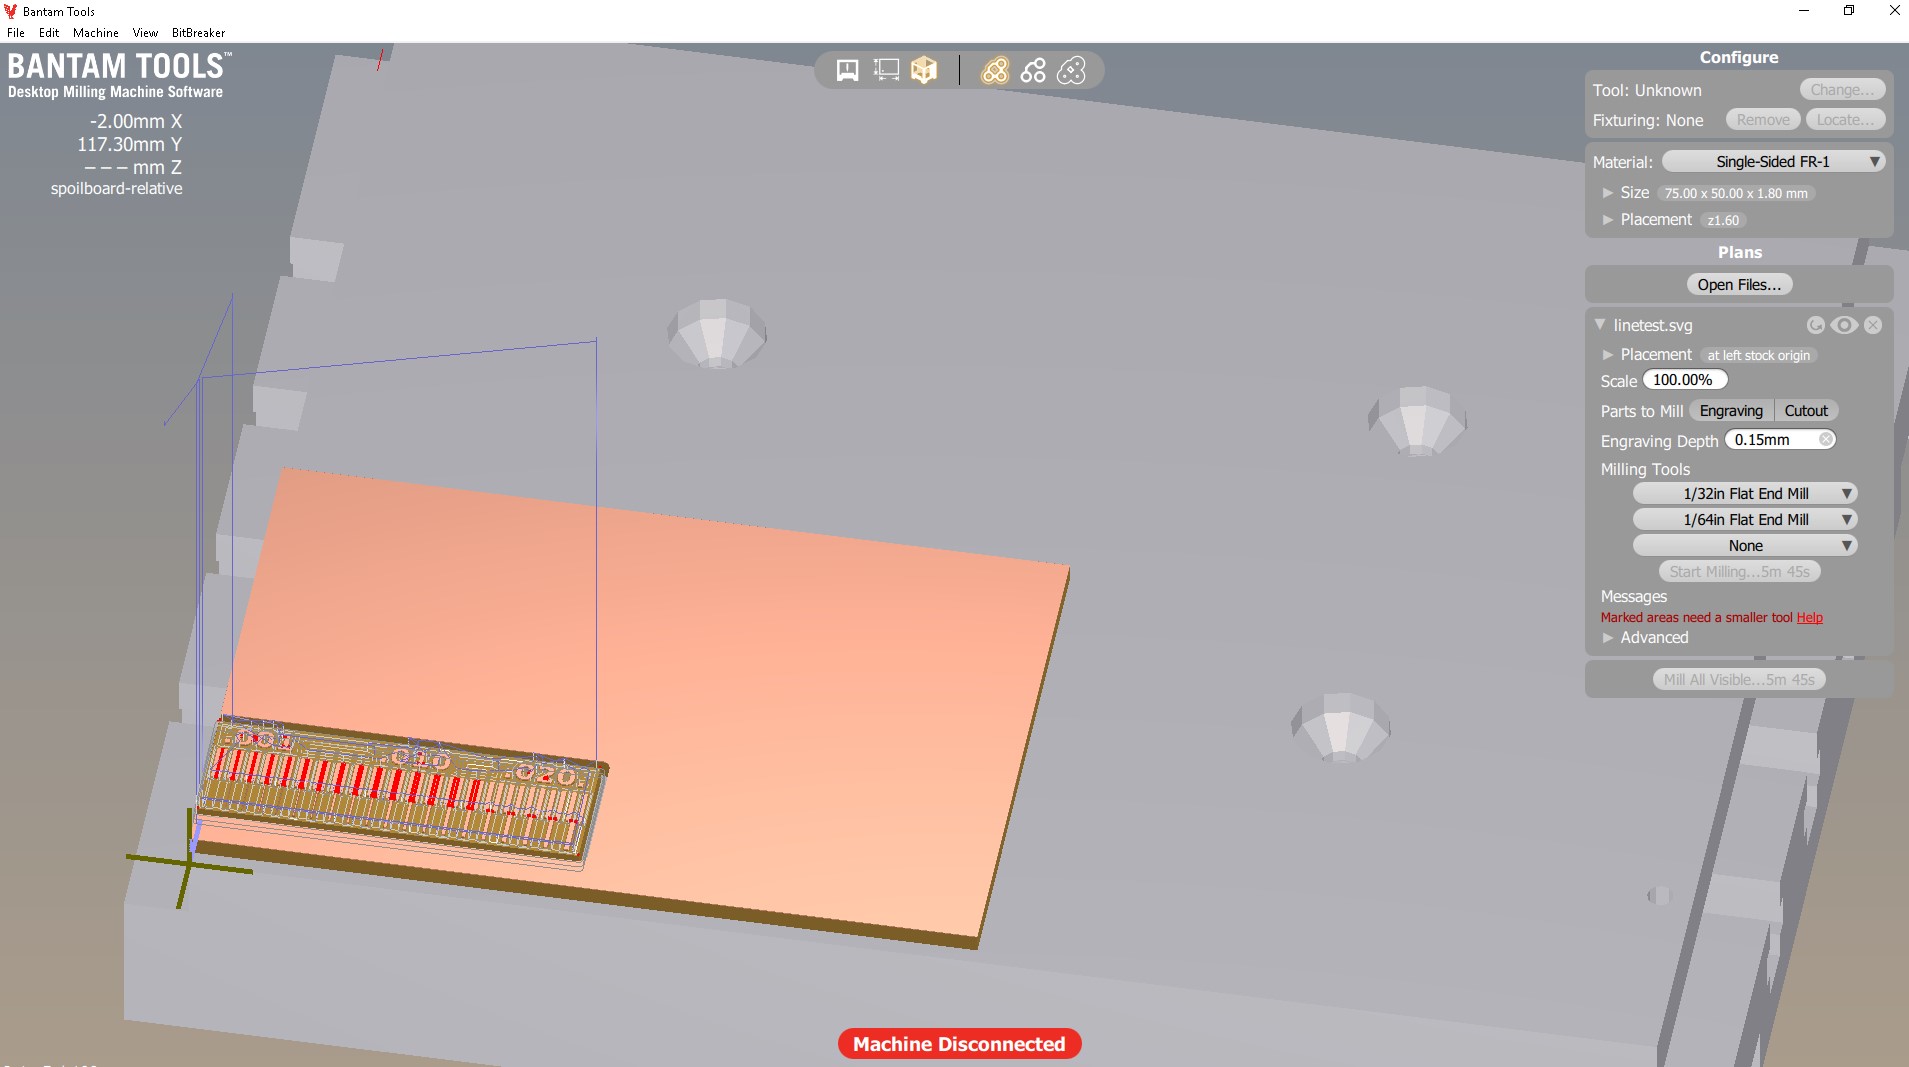
We starting with the Line-test to see how it's work. let's GO!!!
Open the files into the machine software. Now we have a new panel with our board in the right of the window.
In that panel we can place precisely our board by modifying the placement value.
It’s interesting wwe want to mill more than 1 board at a time for example.

Now select our material, Here we used “Single-side FR-1” material.
After that, we setup the thickness of the material. There are two way to determine the thickness of your material :
- Manually : By measuring the thickness of the board.
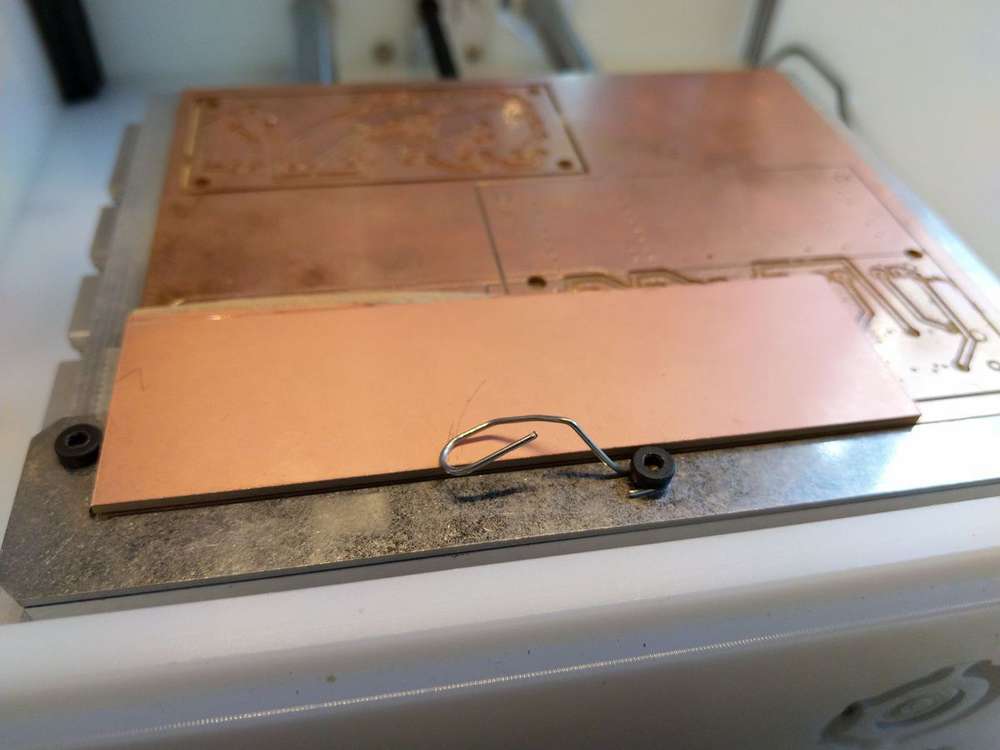
- Automatically : By using the probe system of the software.(the machine automatically probe the thickness of the material using the option BitBreaker -> Probe material thickness. to do that, we have to add a piece of metal between the copper of the board and the metalic frame of the machine. The machine will move on the Z axis until the tool touch the copper, closing a electrical circuit and knowing automatically the thickness of the material.
THe soft show us where the cnc can't pass with red line (du to the size of the drill).
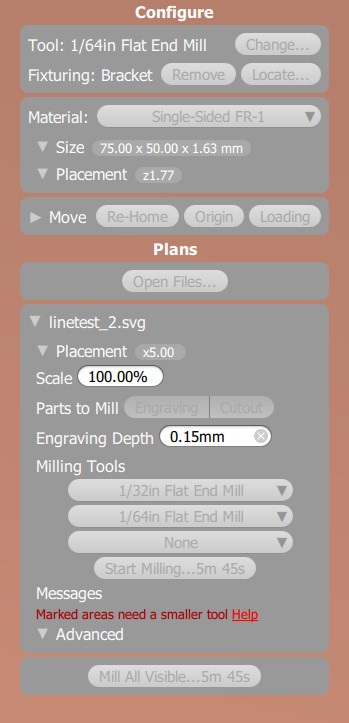
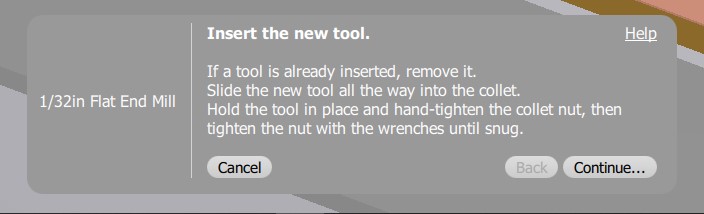
After loading the material & define the tool, and the place we want to work. start Milling.
During the Machine run, the Bantam soft tell stop & tell us what to do. (Changing tool, homming ...). Quite assisted work ^^.
They also show us a real time simulation off the work.

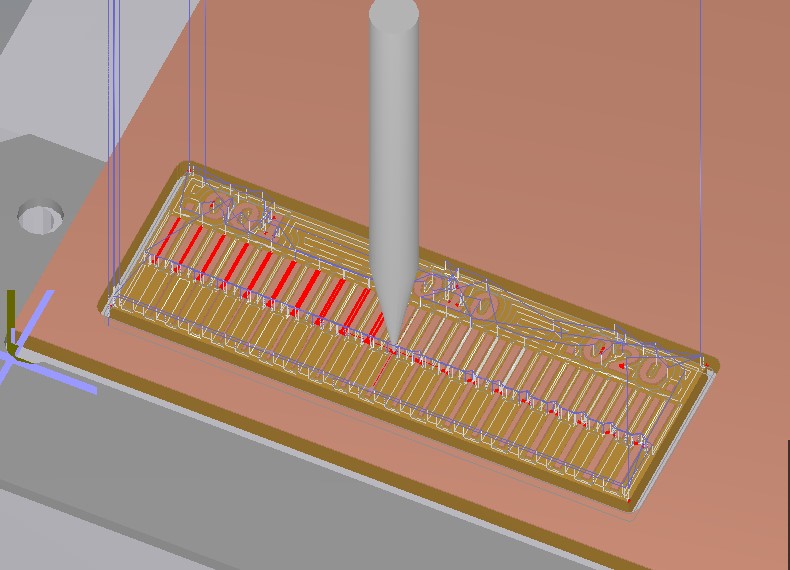
Nice Result, the 1/100 do a very fine work, but take a long times. The 1/64 do a Quick and nice result.
